Introduction Link to heading
This is my first ever blog post so keep this in mind. Have you ever wanted to share your knowledge or just something that you find interesting with other people? Maybe you spent a lot of time figuring something out and want to help some stranger out and get this weird warm feeling that you made some random person on the other side of the globe happy? You can easily do this by creating a blog.
In this tutorial I will be using Cloudflare Pages and Hugo to develop my website.
Why have I chosen Cloudflare Pages Link to heading
I don’t want to make this post sound like an ad but Cloudflare is pretty great. They lease domains for as low as it gets. Right now, it starts at just $4,16 a year and is dependent on the TLD (e.g. “.com” in “example.com”) you choose. Moreover, you can host a static website even on their free plan.
Another advantage of Cloudflare is that you won’t have to deal with the hassle of exposing a service to the internet. It may not seem like a big deal, but IPv4 addresses’ ports get scanned constantly by bots all over the world in hopes of finding a vulnerability to compromise your website and effectively as much as they can. The best way to expose a service is not to do do it. A few bucks a year isn’t a bad price for not having to deal with all of this.
Purchasing a domain Link to heading
First we will need a domain. You could technically get away using GitHub Pages but have you ever came across a blog hosted this way while browsing web? Yeah, not really.
Go ahead and register an account on Cloudflare if you don’t have it already.
Once you have done that, go to “Register Domains” under the “Domain Registration” section and search for an available domain. You can check which TLDs are the best value on this site. You will have to fill out your personal details and pay for the domain.
Creating a website Link to heading
In this tutorial we will be using Hugo, a static site generator. Static sites, compared to dynamic websites, are quicker since they do not require querying any databases on your server and files are stored in HTML, CSS and JS. They can also be hosted for free on Cloudflare Pages.
First, you will need to install Hugo on your local machine. Once you’ve done it you can git clone this blog from this repository. You will then want to create a repository on GitHub and add it as a remote to your local repository.
Now, we will add a ‘hello-world’ style post to our blog. Having installed Hugo, open up a terminal and type hugo new content posts/my-first-post.md
This will create a new markdown file in which we will write our post.
You can start by adding this to your newly created file:
+++
title = 'Hello World'
date = 2024-01-14T07:07:07+01:00
draft = true
+++
## Introduction

This is my first post

Learn more about Hugo [here](https://gohugo.io/getting-started/quick-start/)
We can now run hugo server -D to see our blog. Go to the link that popped up in the terminal and see for yourself.
Now that we have a website somewhat ready, we can change draft from true to false. This will ensure our post will get published in the next step. Then simply run hugo - this will ‘publish’ our website by creating the necessary files our web hosting provider will utilise.
We can now push our website to GitHub and configure our hosting.
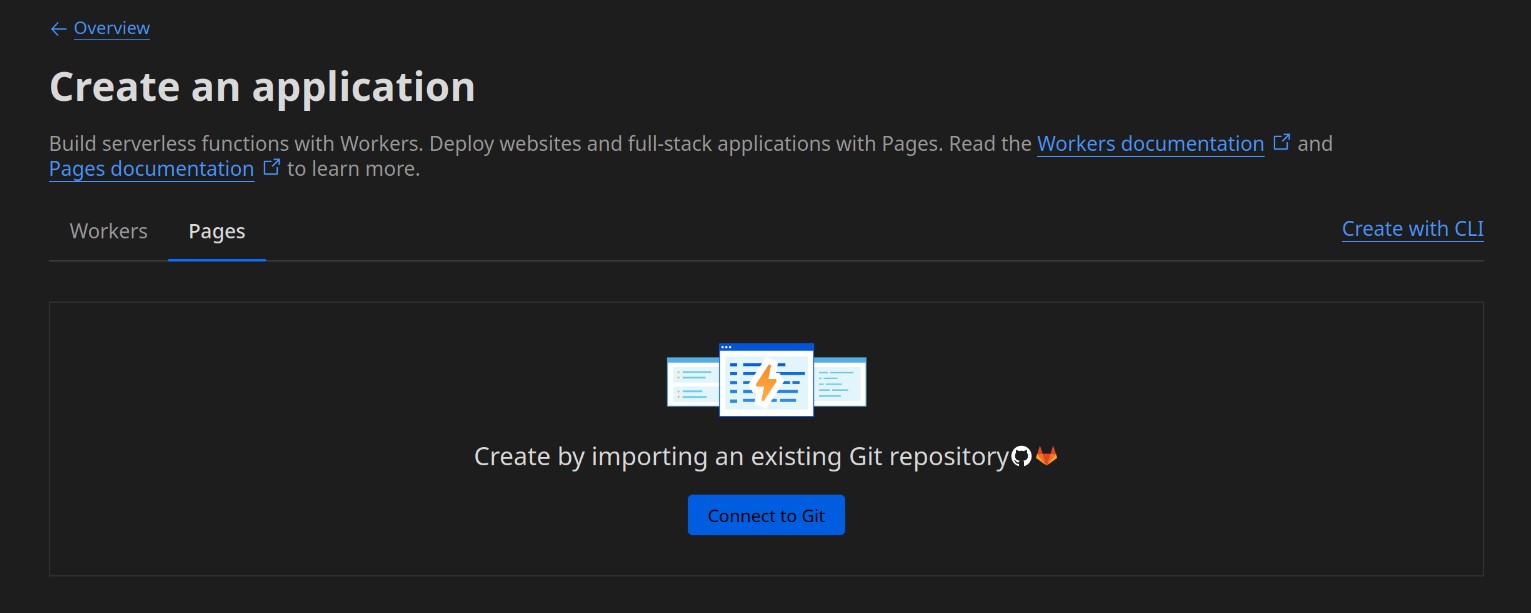
Cloudflare Pages Link to heading
Go to Cloudflare and select ‘Workers & Pages’ tab. Here, click create a new application. Now we will instruct our new Cloudflare Page to use our newly created GitHub repository (make sure it’s public!). Select ‘Pages’ tab and click ‘Connect to Git’
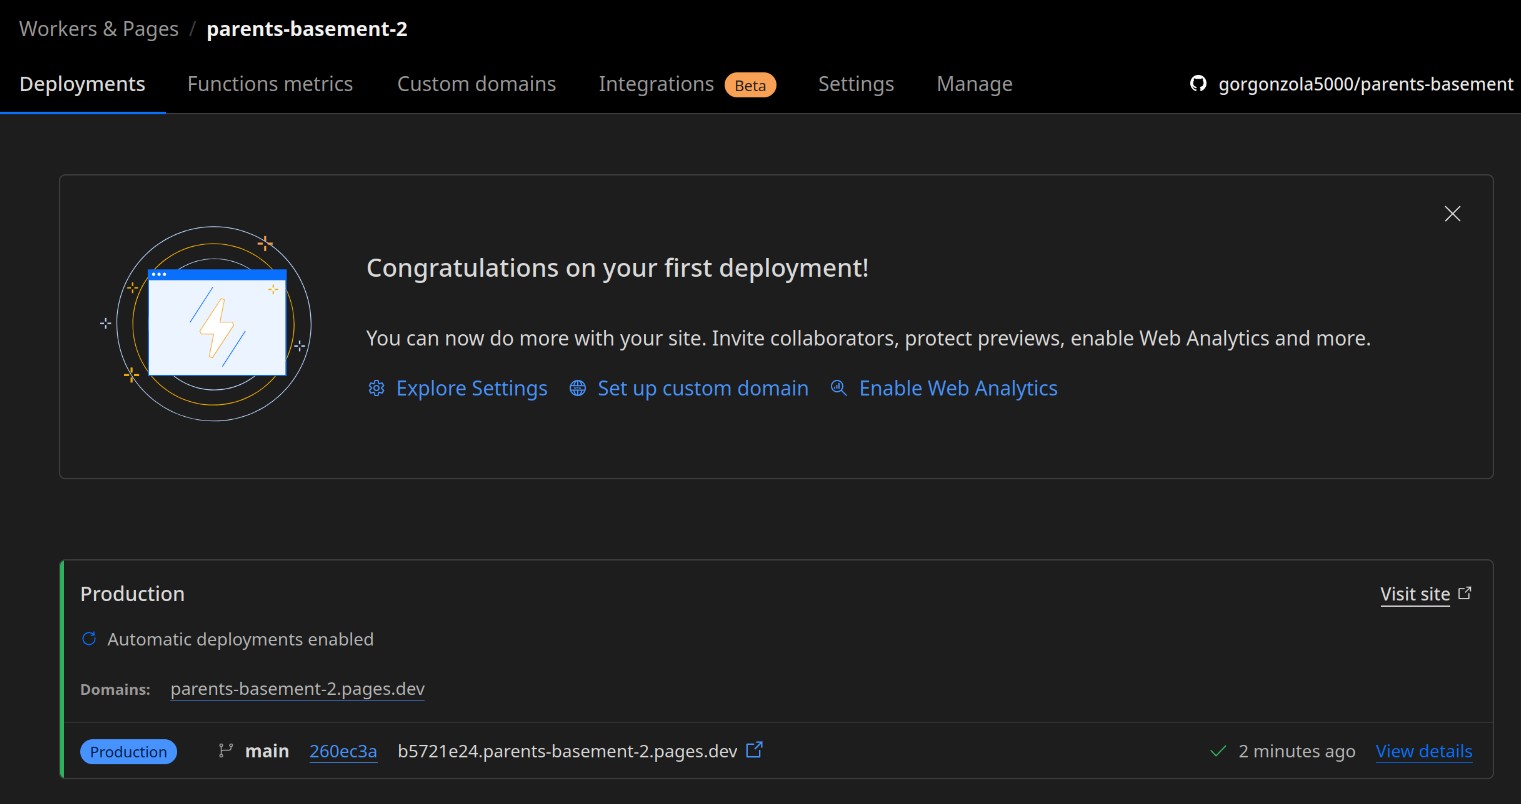
Link your GitHub account, select your blog repository and click ‘Begin setup’. We don’t have to specify any build settings in the next step since we have already built our website using hugo command locally and then pushed to our remote. We can click ‘Save and Deploy’. You should now have a website online. You can now click ‘Visit site’ and copy the address. We will need it in the next step.
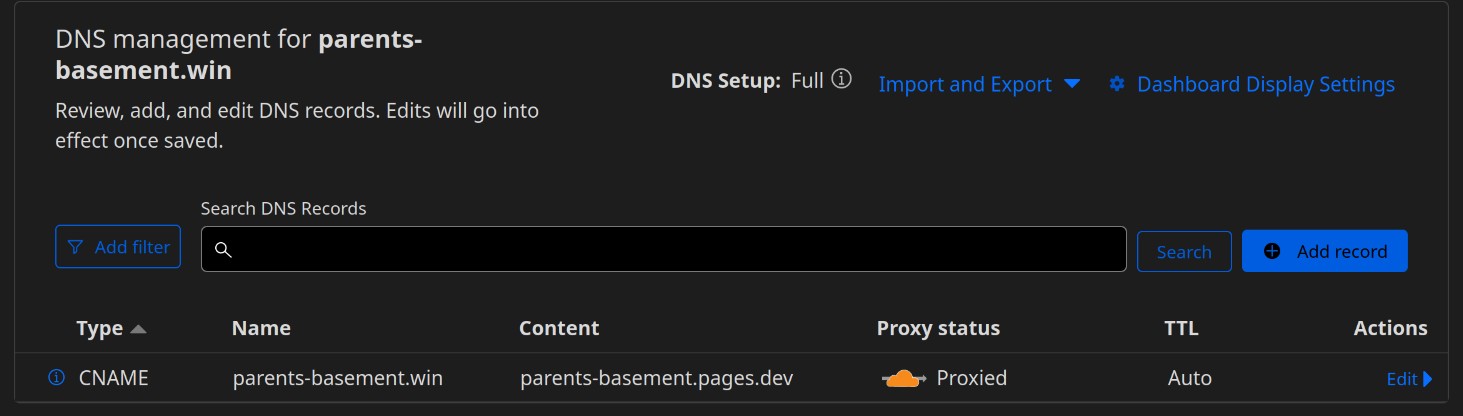
Pointing our domain to the blog Link to heading
Go to ‘Websites’ tab and select your domain. Then go to DNS and ‘Add a record’. Create a ‘CNAME’ record with ’name’ set to ‘@’ and IP address set to the link we copied earlier. The created record should look like this:
You can also go to SSL/TLS and enable full encryption. This will force HTTPS.
You should now have a blog ready! I hope this tutorial helped you out.